How to Customize Massdrop QMK Firmware
Recently I built QMK firmware from source for a Drop keyboard which isn’t included in the upstream QMK repository.
Here I include the standard disclaimer that there is always a chance of bricking your keyboard by building and flashing your own firmware. Please be careful and review the QMK documentation thoroughly if you are new to this.
Online GUI tools
In most cases, it isn’t necessary to build QMK from source for use with your keyboard. For simple key mapping customizations, the online QMK Configurator GUI interface works well enough. Some keyboards from Drop may not work with the generic configurator and require use of Drop’s own configurator:
https://drop.com/mechanical-keyboards/configurator
If you want to customize something more involved though, you will be looking at building QMK firmware from source. I wanted to configure the debounce settings in the firmware because I was getting quite a bit of chatter on my spacebar with the tactile switches I’m using. To change this, I needed to build from source.
Building from source
Generally, one can use the upstream QMK firmware to customize a keyboard:
https://github.com/qmk/qmk_firmware
However, not all of Massdrop’s keyboards’ support has been pushed upstream and in those cases, the code is available only in the Massdrop fork. The Drop Carina is an example of code being available in the fork but not in the upstream repository.
Set up the build environment
In order to build firmware, you need to set up your QMK build environment. I used Homebrew to install the QMK CLI on macOS.
Get the code
Massdrop’s fork of the QMK firmware is located at:
https://github.com/Massdrop/qmk_firmware
Clone the repository and open the default keymap for macOS in a text editor.
~$ git clone https://github.com/Massdrop/qmk_firmware
~$ cd qmk_firmware
~/qmk_firmware$ vim keyboards/massdrop/carina/keymaps/mac_md/keymap.c
Make a keymap
The key mappings are organized in matrices that match the key locations on your keyboard. The codes are pretty self explanatory. A few translations that may not be as obvious are:
| Key Code | Description |
|---|---|
| KC_LGUI | Command key or Windows key on left side |
| KC_RGUI | Command key or Windows key on the right side |
| MO(1) | Function or modifier key |
Each matrix represents one layer of the key mapping. Matrix [0] is layer 0 or the default layer. Matrix [1] is layer 1, accessible by holding the Function key.
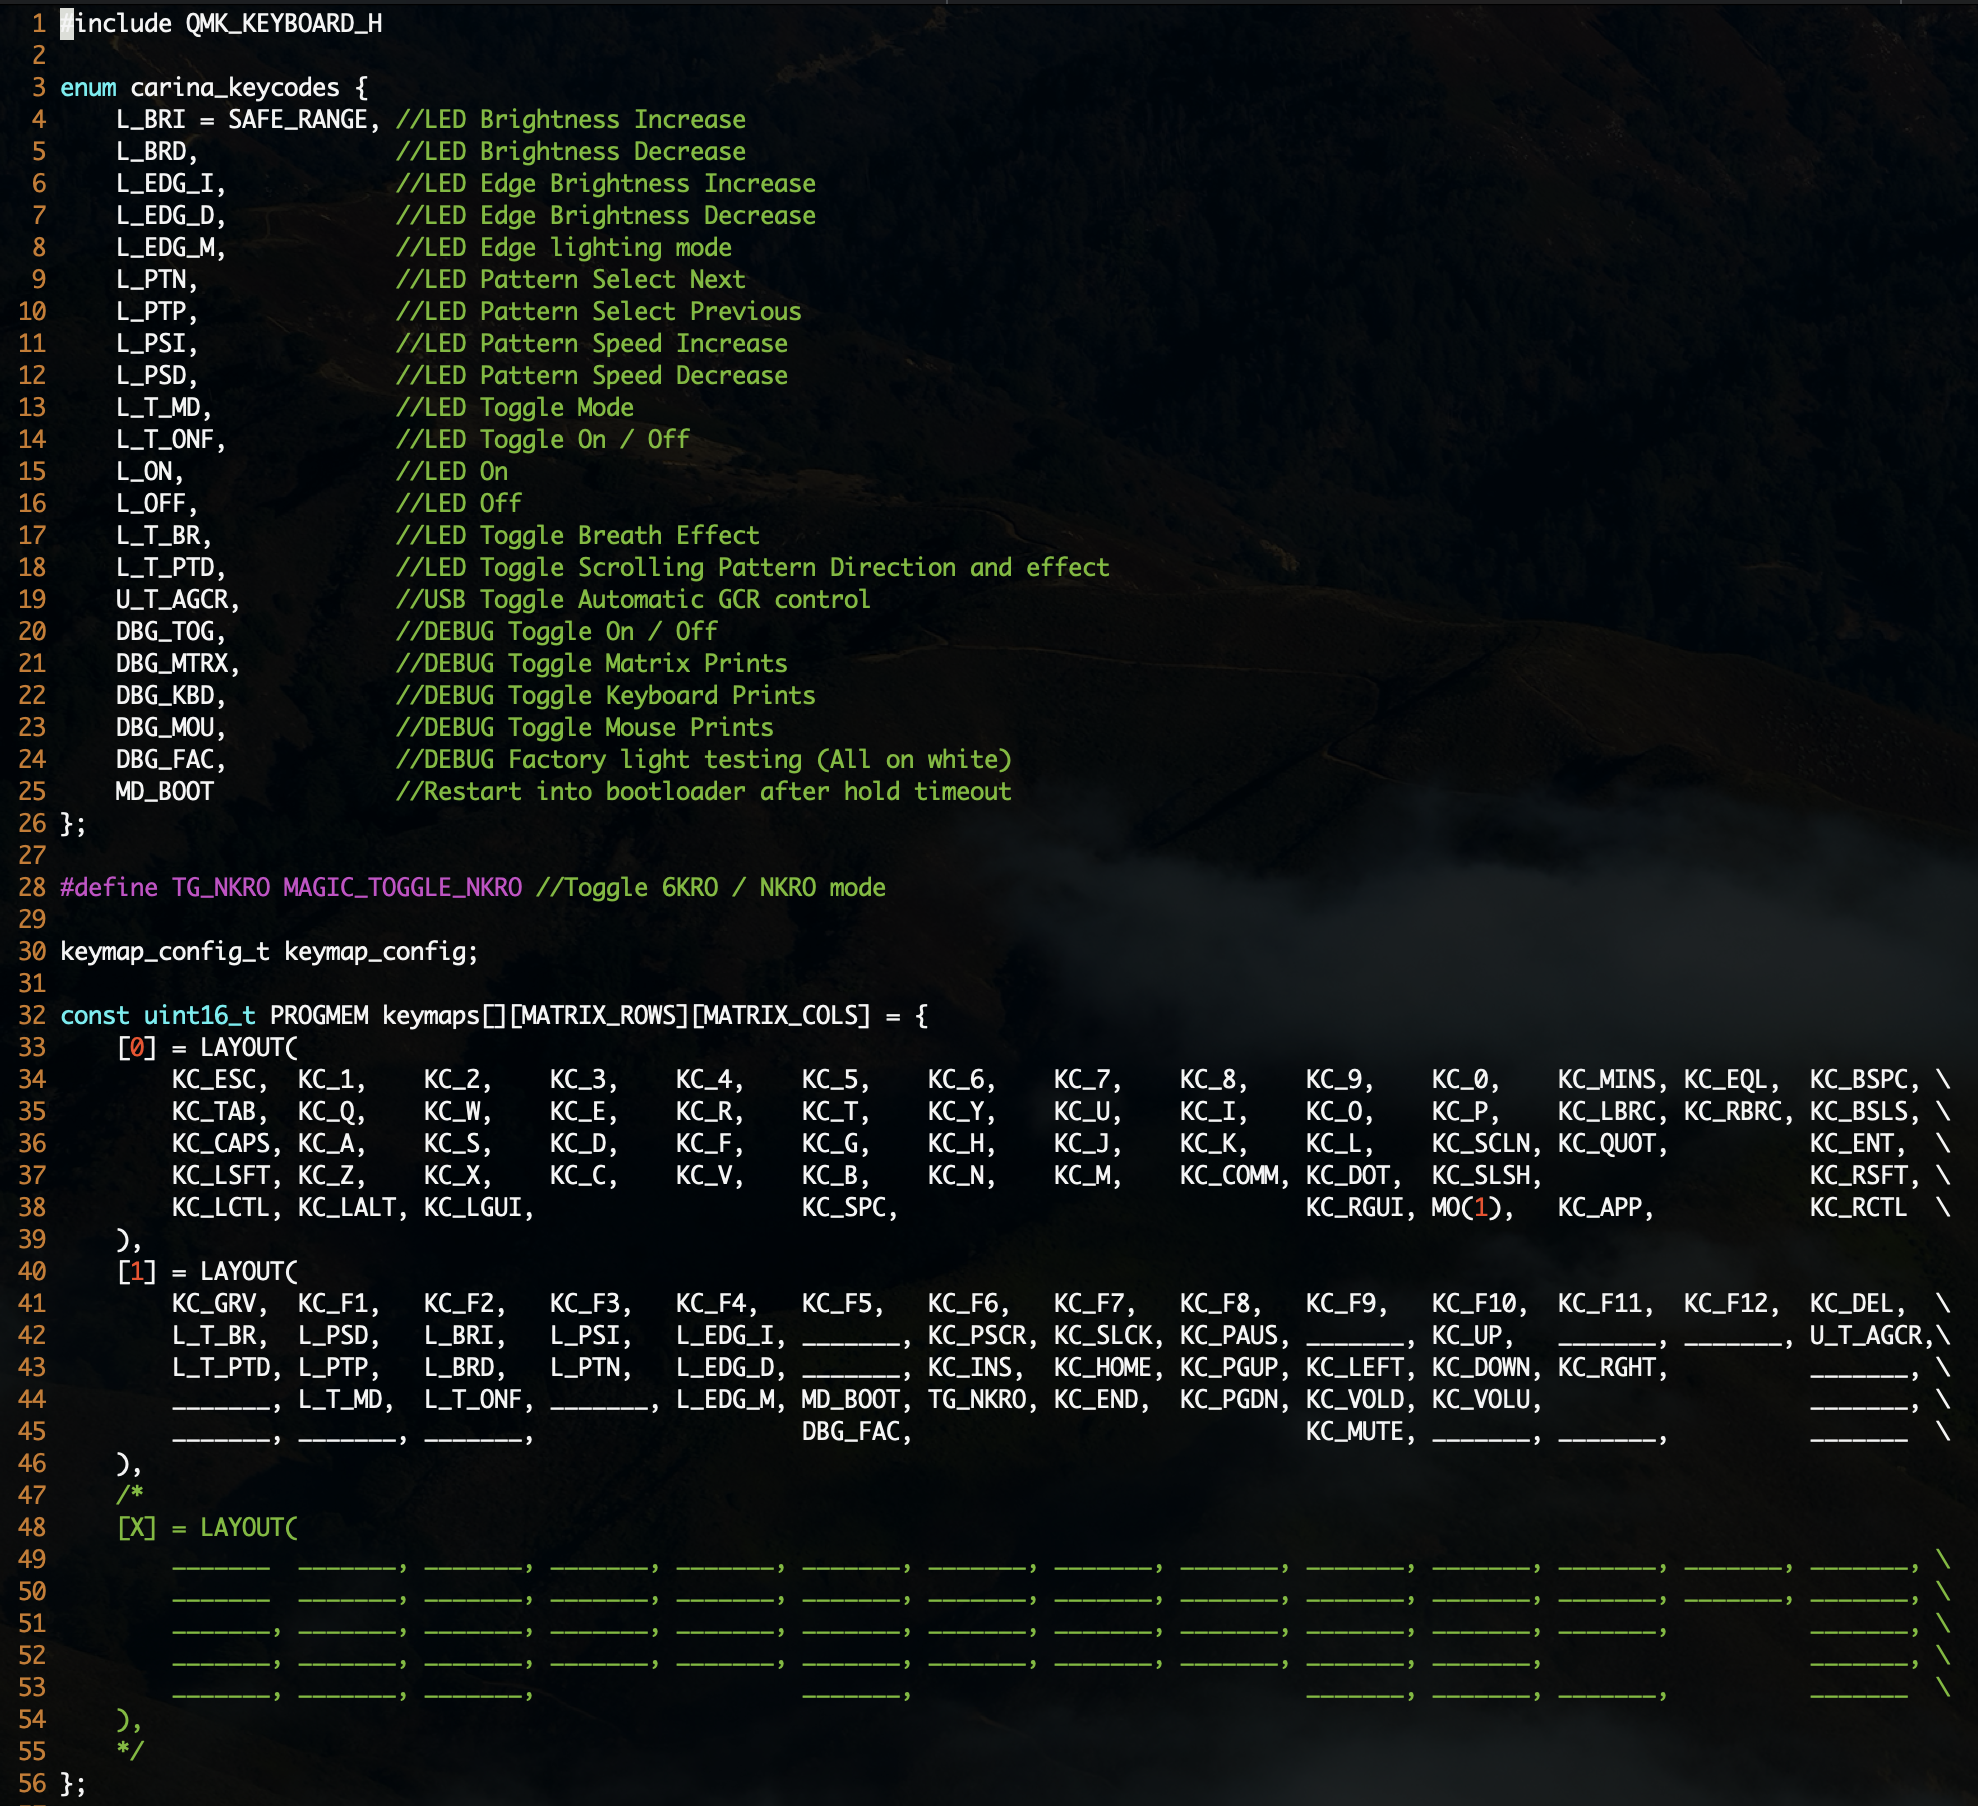
Make a new directory for your custom key mapping and then copy the default keymap into it, to use as a starting point.
~/qmk_firmware$ mkdir keyboards/massdrop/carina/keymaps/melwitt
~/qmk_firmware$ cp keyboards/massdrop/carina/keymaps/mac_md/* \
    keyboards/massdrop/carina/keymaps/melwitt
~/qmk_firmware$ ls keyboards/massdrop/carina/keymaps/melwitt/
keymap.c rules.mk
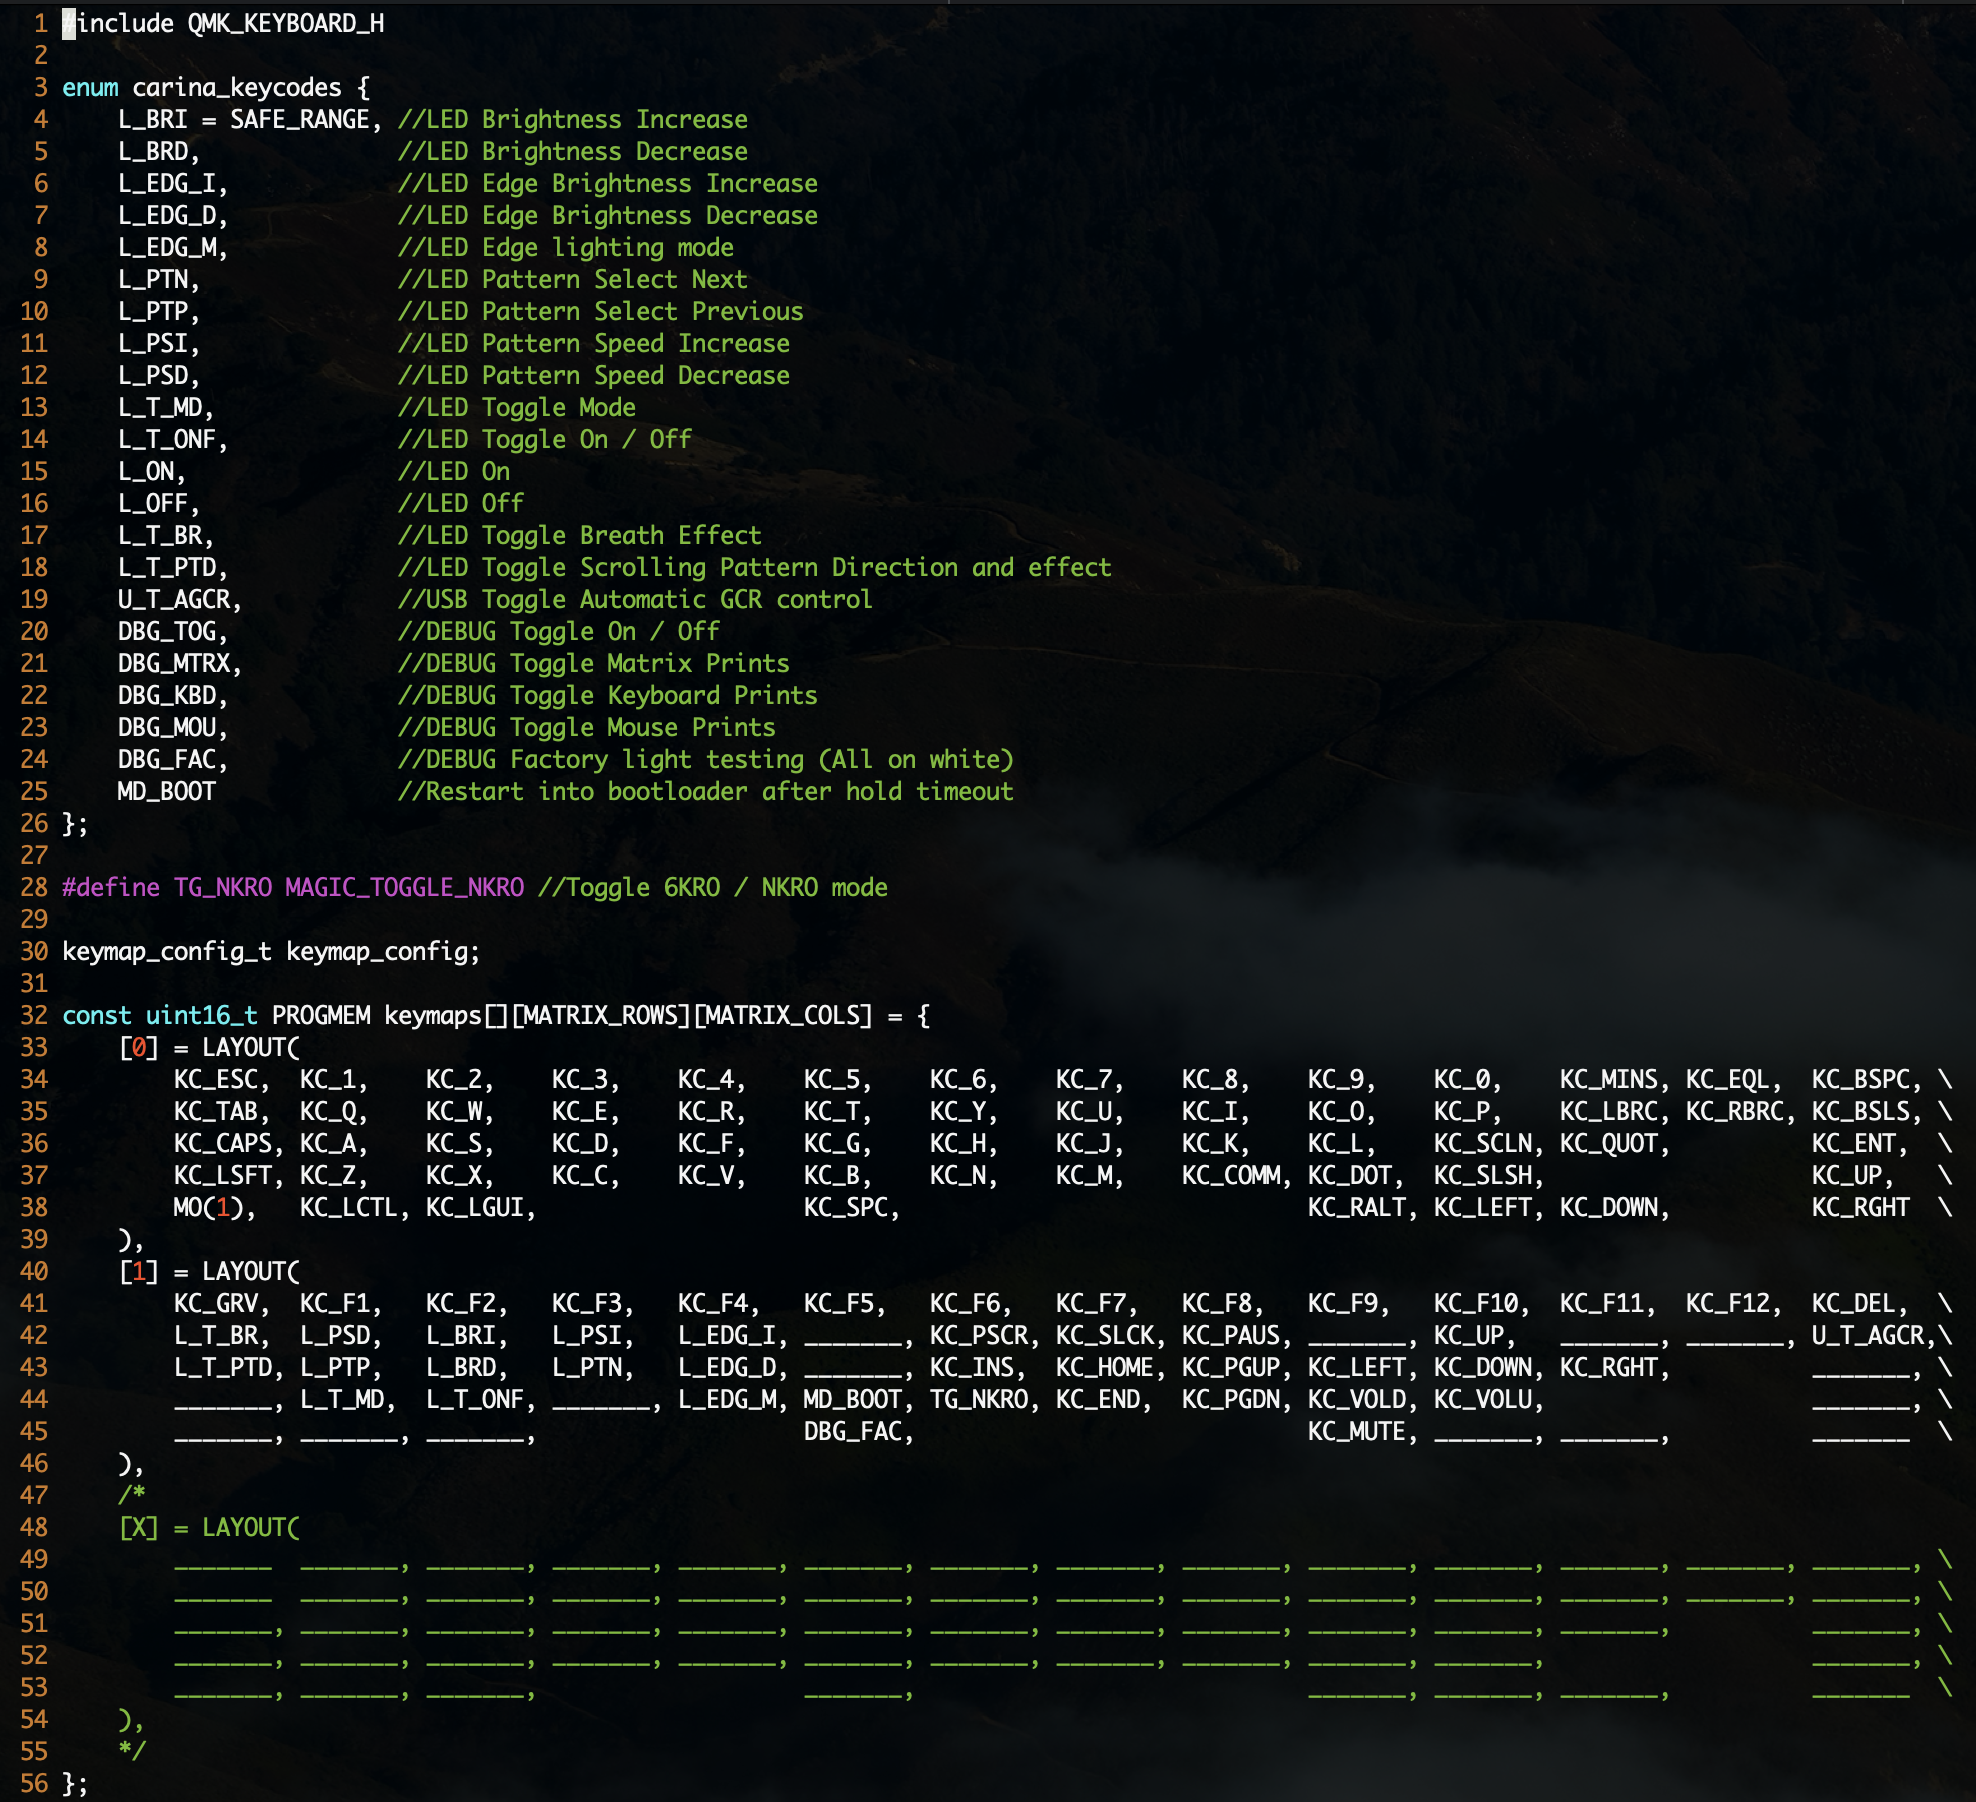
Customize the key mapping as desired. This is what I have set up for my Drop Carina 60%, for example:
Configure debounce
Since I mentioned earlier that my reason for building firmware from source was because I wanted to change the debounce setting, I’ll show a small example. Note that full instructions are available in the QMK documentation.
I did the simplest possible thing, which was to set the debounce time to a longer amount of time. Default debounce time is 5 milliseconds and I changed mine to 30 milliseconds.

This allows more time for the switch to settle after being pressed and unpressed. With a setting of 30 milliseconds I very rarely get double key presses. And if I do, I’ll bump up the debounce time a little more until I stop getting double-presses.
If you are curious about how to keep your customizations in GitHub, I keep mine in my personal fork of qmk_firmware:
https://github.com/melwitt/qmk_firmware/tree/massdrop
Note that I’m keeping Massdrop’s qmk_firmware in a branch as part of my upstream qmk_firmware fork. That’s just how I chose to track both qmk_firmware repositories at the same time, i.e.
~/qmk_firmware$ git remote -v
massdrop	https://github.com/Massdrop/qmk_firmware.git (fetch)
massdrop	https://github.com/Massdrop/qmk_firmware.git (push)
origin	git@github.com:melwitt/qmk_firmware.git (fetch)
origin	git@github.com:melwitt/qmk_firmware.git (push)
upstream	https://github.com/qmk/qmk_firmware (fetch)
upstream	https://github.com/qmk/qmk_firmware (push)
Build and flash the firmware
First, build the firmware binary. This will create a firmware file with a .bin or .hex file extension.
~/qmk_firmware$ make massdrop/carina:melwitt
~/qmk_firmware$ ls|grep massdrop
massdrop_carina_melwitt.bin
I like to use the QMK Toolbox to flash firmware because it’s very easy to use. It’s only available for macOS and Windows though, so if you use Linux you will need to follow the steps to flash your keyboard from the command line instead.
Open the QMK Toolbox:
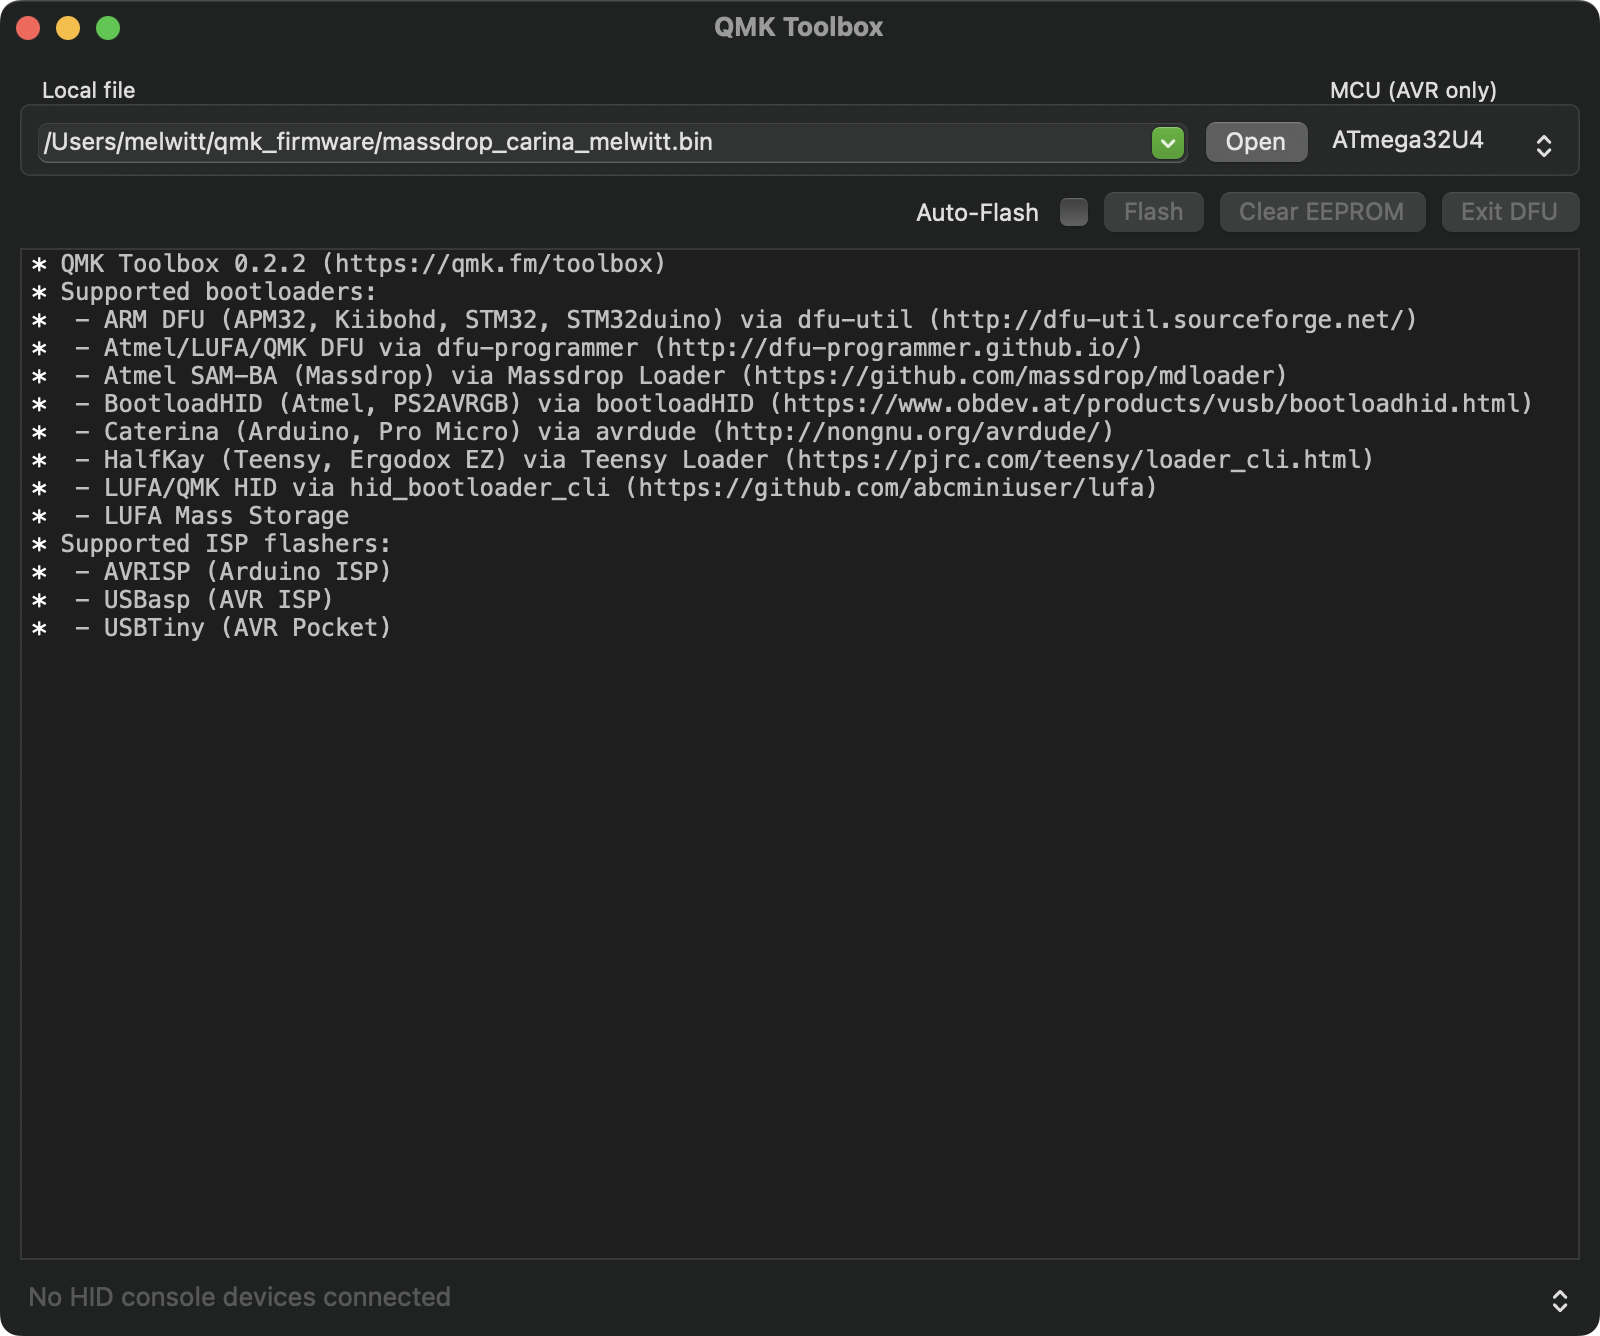
To put the keyboard into DFU (Device Firmware Update) mode, hold the key
combination that corresponds to the MD_BOOT key code shown in the default
keymap.c file for at least a few seconds, then release the keys. In this
example, it would be Function + b.
You should see a message appear in the window that says something like “Atmel SAM-BA device connected” indicating that your keyboard is now connected in DFU mode and ready to be flashed with new firmware.
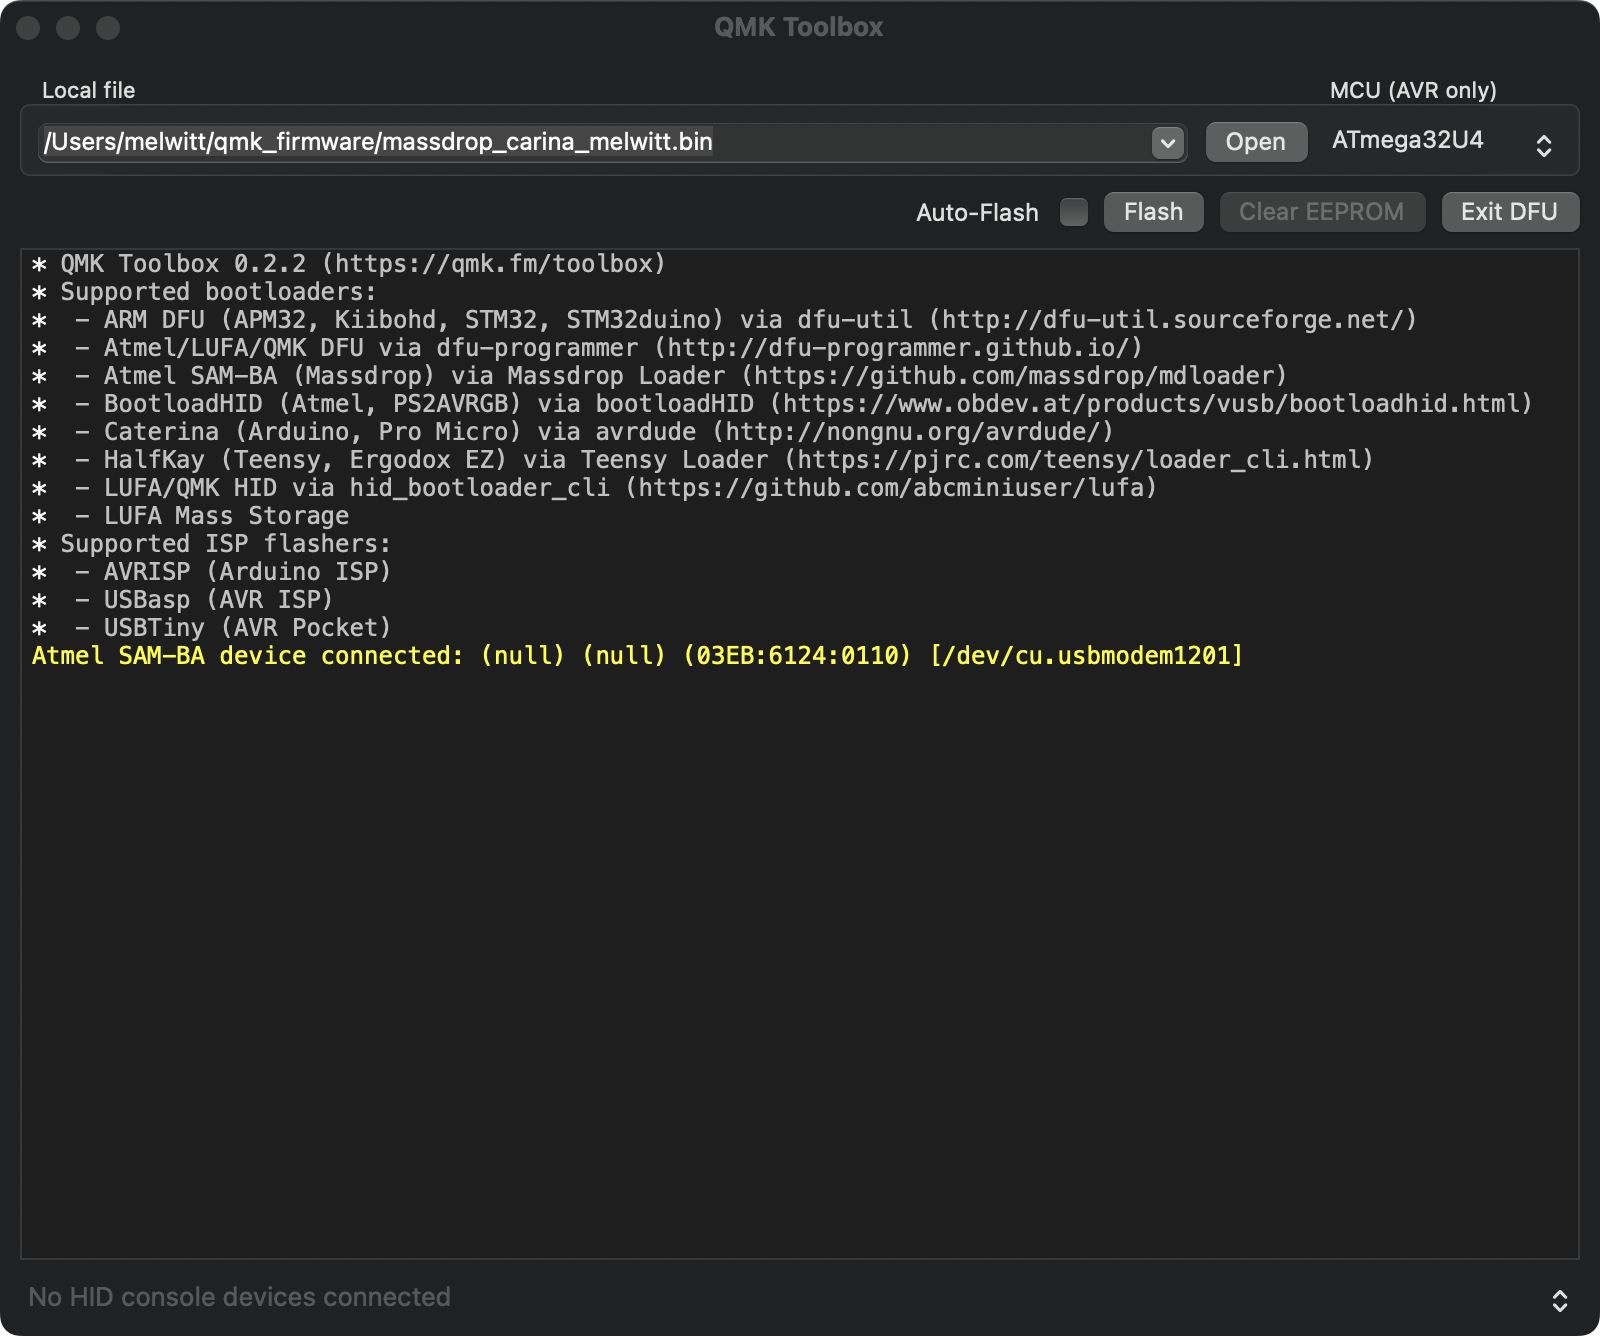
Click the Open button and select the firmware binary you built from the dropdown box. Once a file has been selected, the Flash button should no longer be greyed out.
Click the Flash button to flash the new firmware onto your keyboard. Do not disconnect the keyboard while the firmware is being updated.
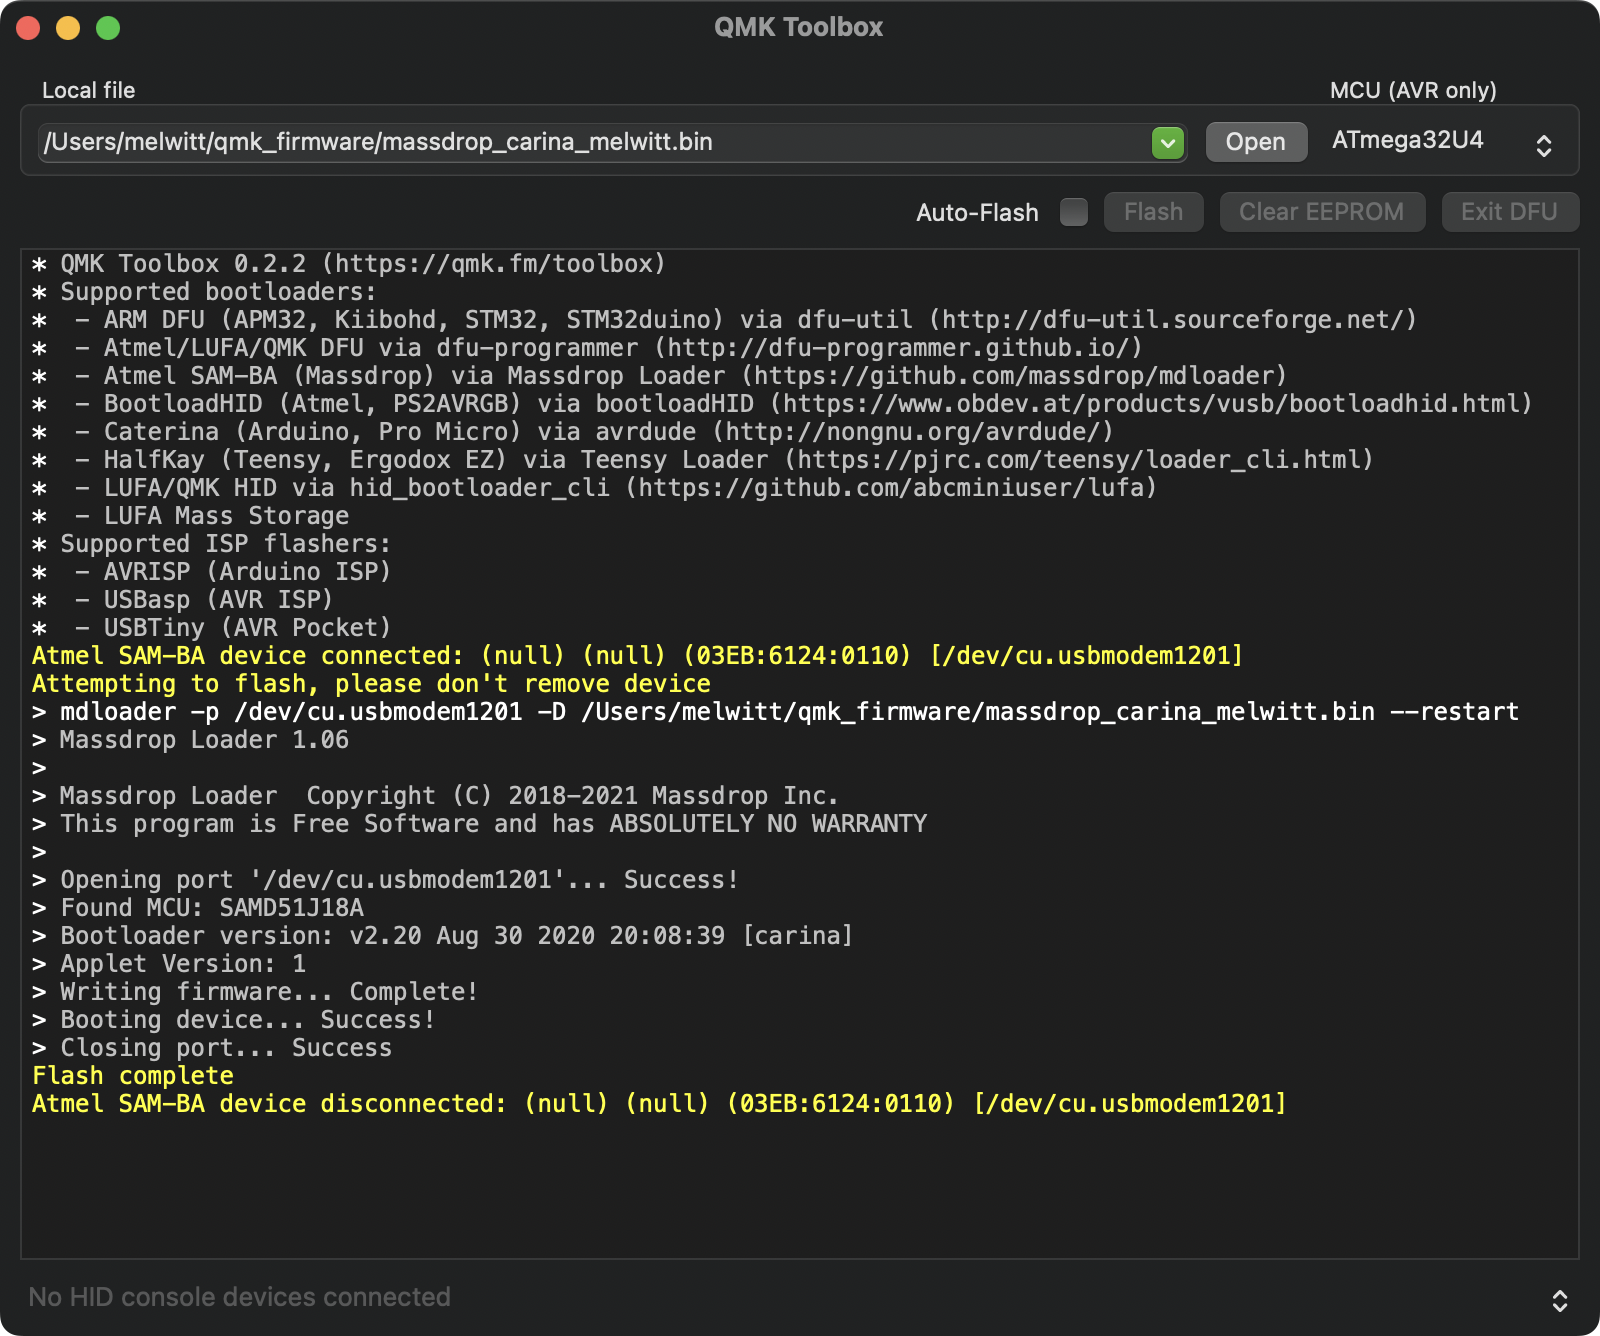
After the firmware update is complete, you will see a message “Flash complete” and the keyboard will exit from DFU mode automatically.
Now your customizations should be ready for use!
Share on: